
Solaris11.4をVMware ESXiにインストールします。
この記事ではCUIのインストールまでです。
GUIのインストールは別記事で。
- Solaris11.4の入手方法
- Solaris11.4のインストール
- isoファイルでインストーラーを起動
- USBキーボード
- キーボードレイアウト
- installation menu
- Welcome to Oracle Solaris
- Discovery Selection
- Disks
- GPT Partitions
- System Identity
- Network Configuration
- Network Configuration Method
- Configure static IP address: net0/v4
- DNS Name Service
- DNS Server Addresses
- SND Search List
- Alternate Name Services
- Time Zone: Regions
- Time Zone: Locations
- Time Zone
- Locale: Language
- Locale: Territory
- Date and Time
- Keyboard
- Users
- Support - Registration
- Installation Summary
- Installing Oracle Solaris
- Installation complete
- コンソール画面
- sendmailの削除
- VMware Toolsをインストール
- 終わり
Solaris11.4のインストール
isoファイルでインストーラーを起動
ダウンロードした「sol-11_4-text-x86.iso」でSolaris11.4のインストーラーを起動
USBキーボード
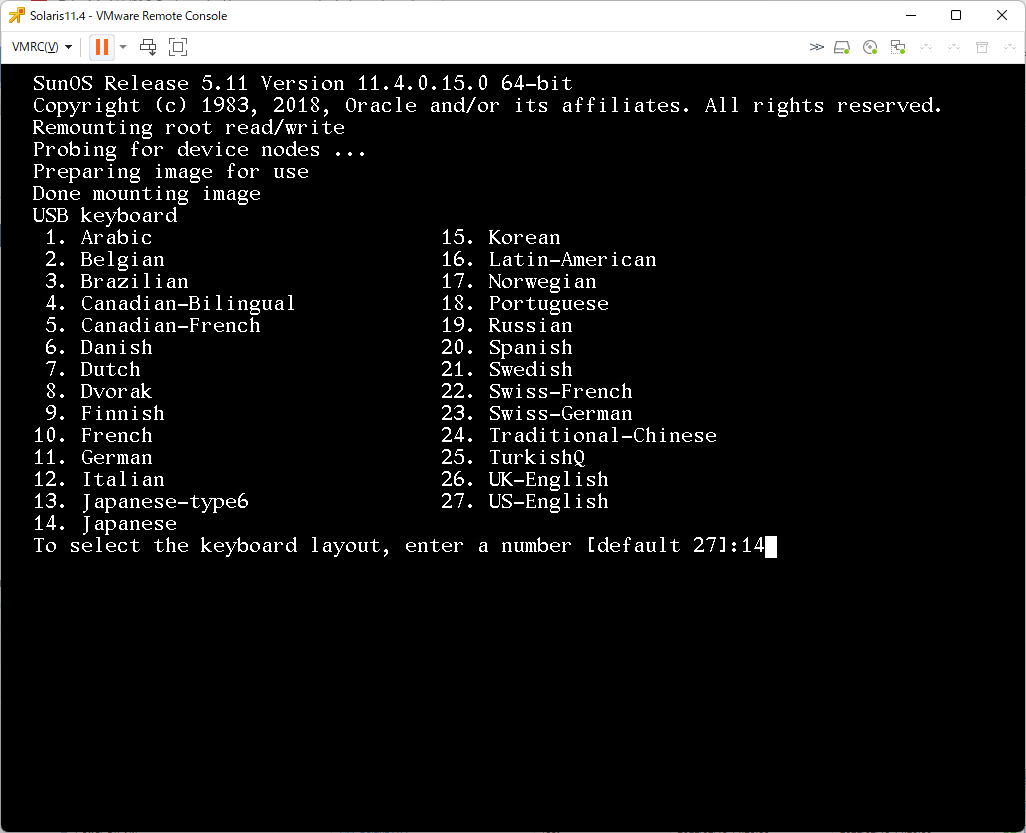
「14」の「Japanses」を選択
キーボードレイアウト
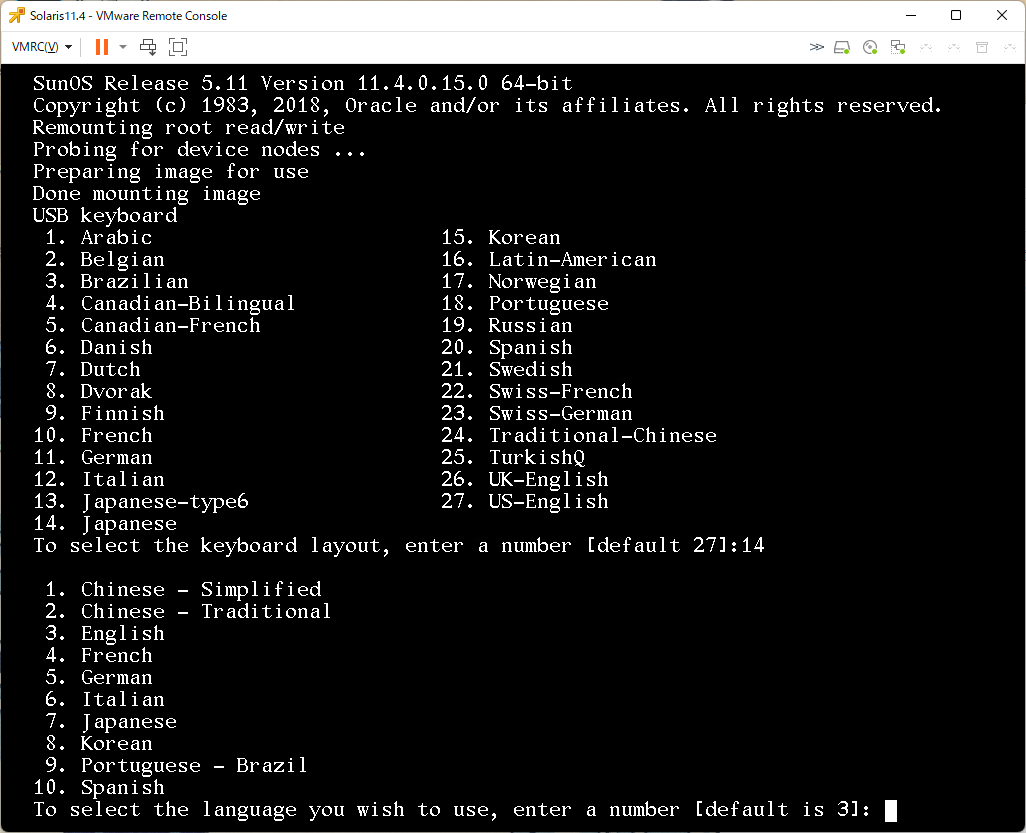
「7」の「Japanses」を選択
installation menu
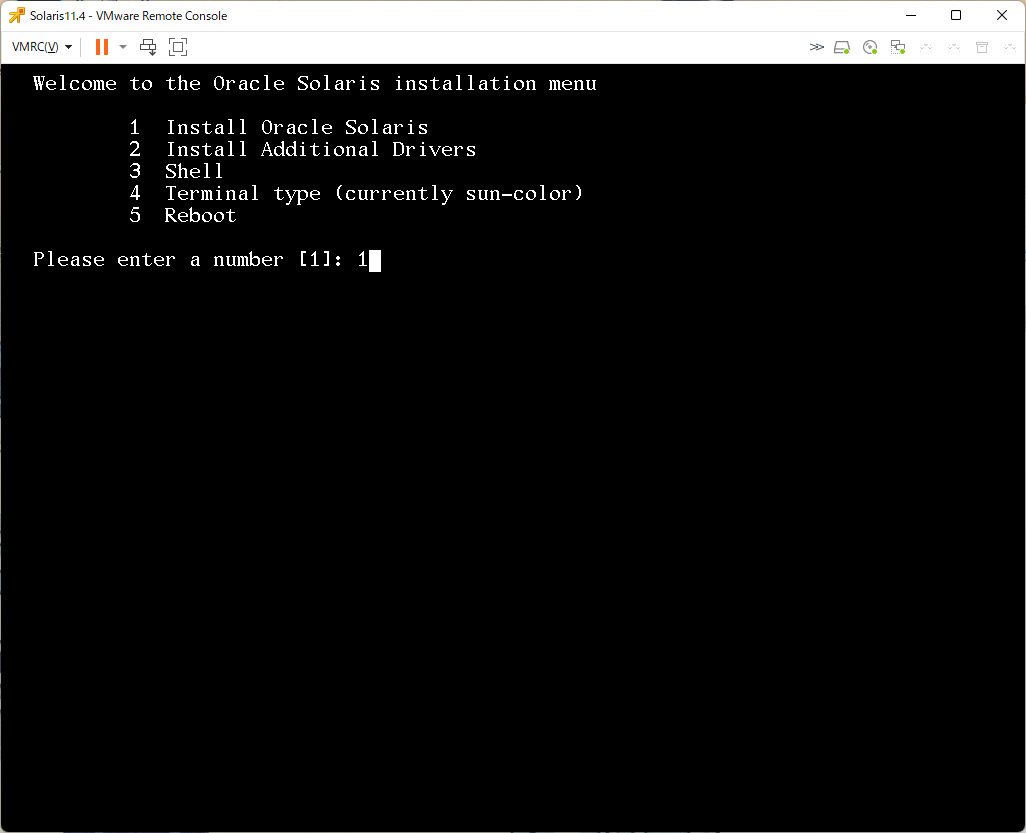
「1」を選択
Welcome to Oracle Solaris
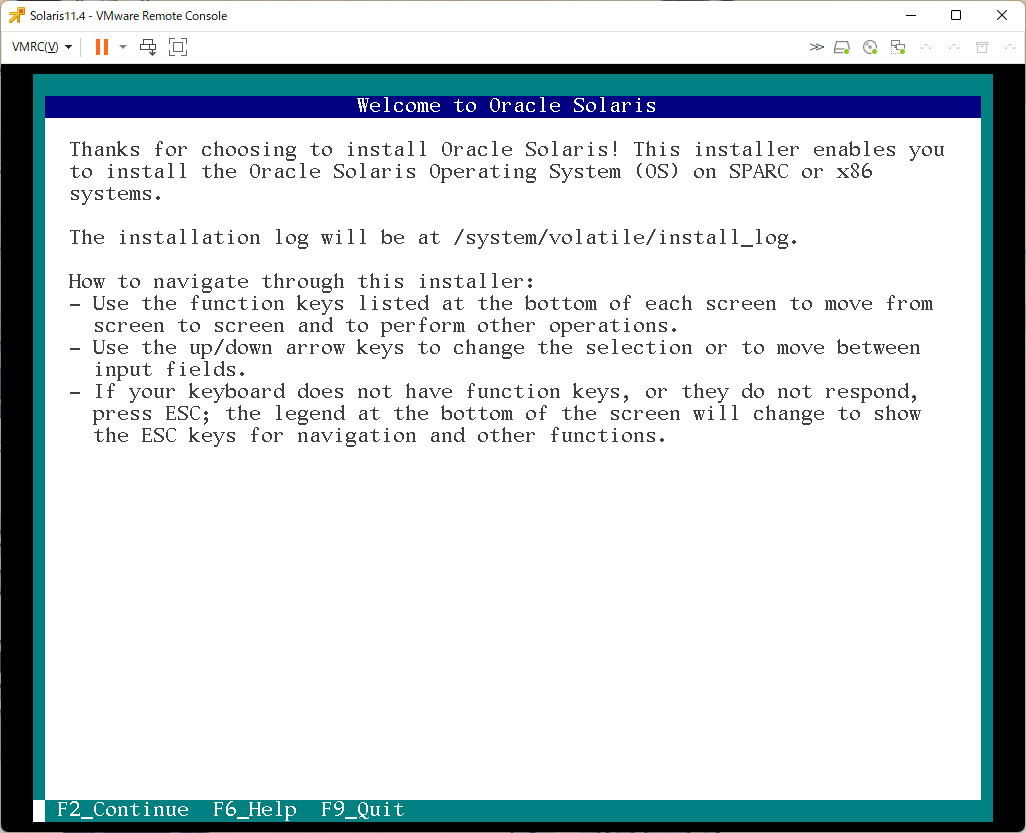
「F2」を押して次の画面へ
Discovery Selection
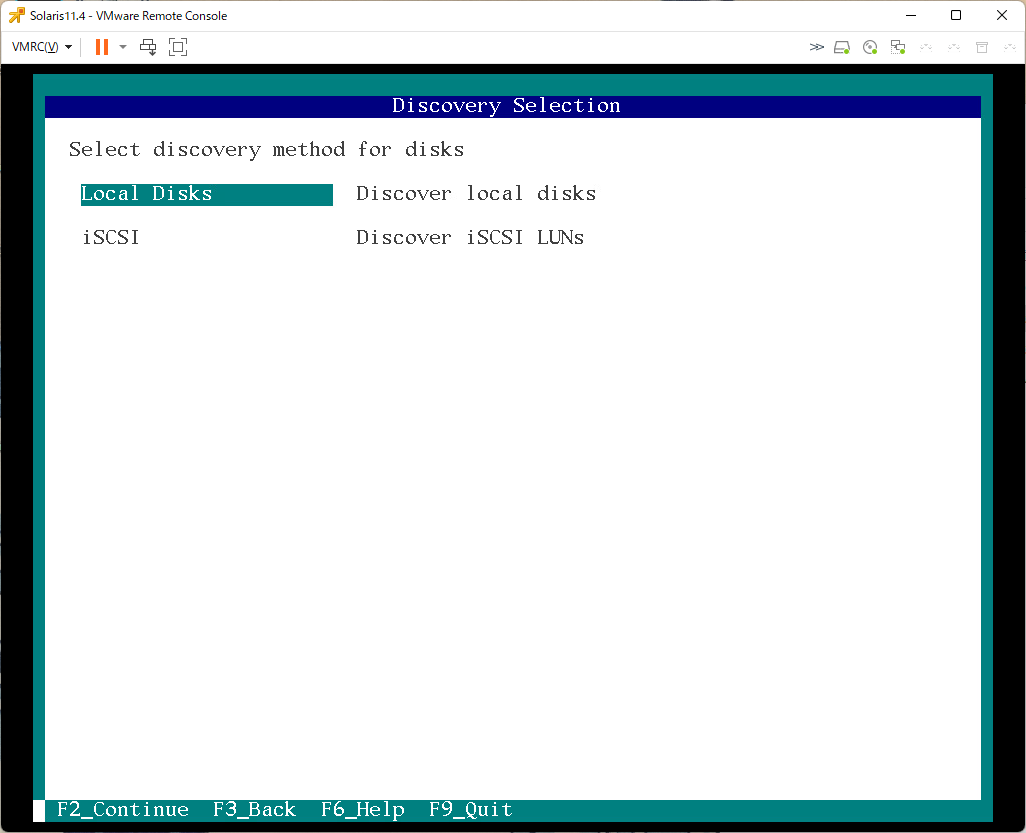
「Local Disks」を選択し「F2」
Disks
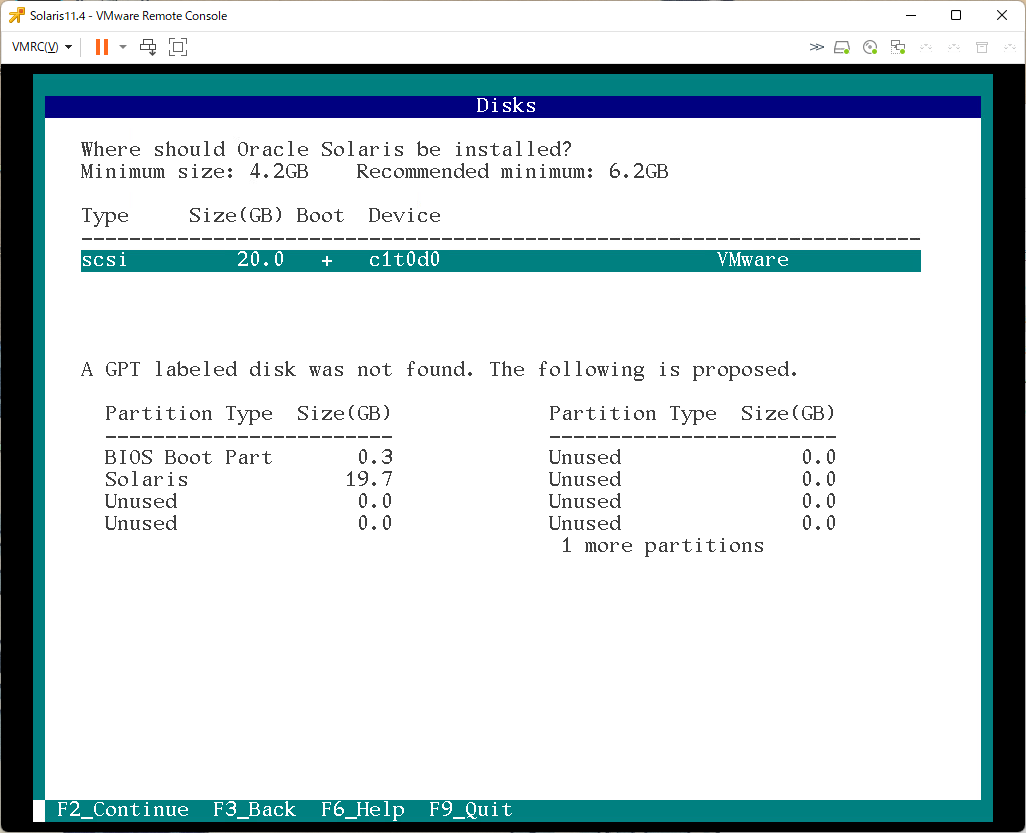
「scsi」を選択し、「F2」
GPT Partitions
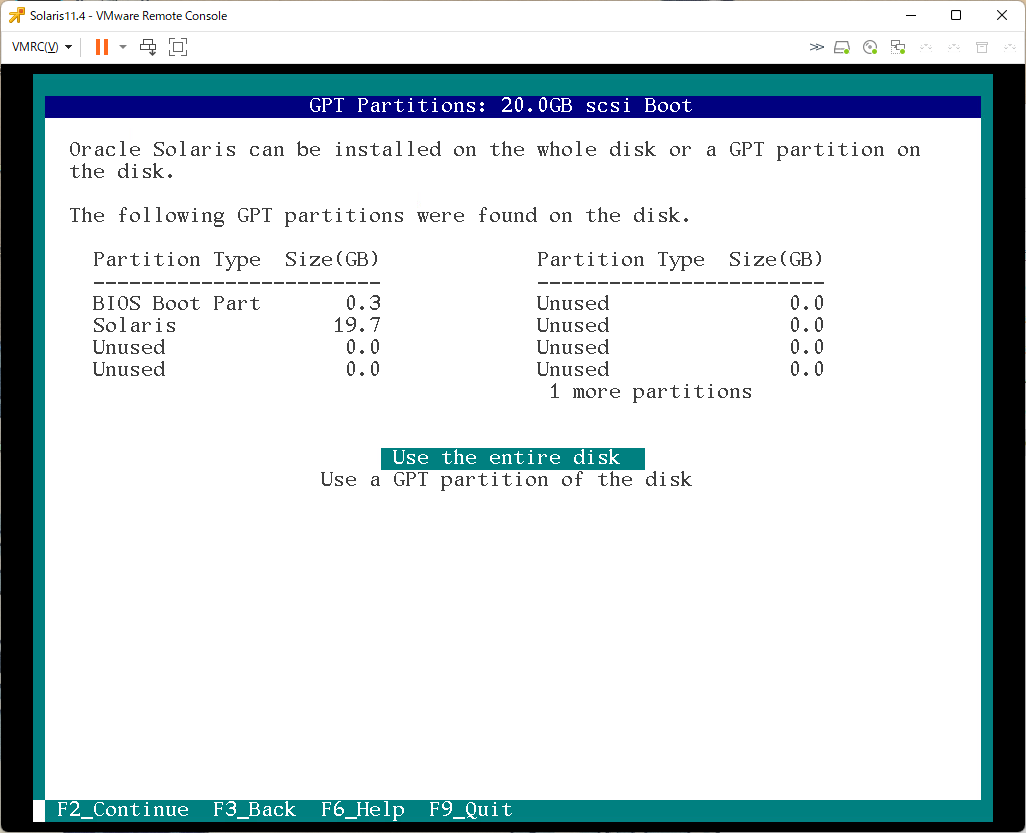
「Use the entire disk」で「F2」
System Identity

サーバー名を入れて「F2」
Network Configuration
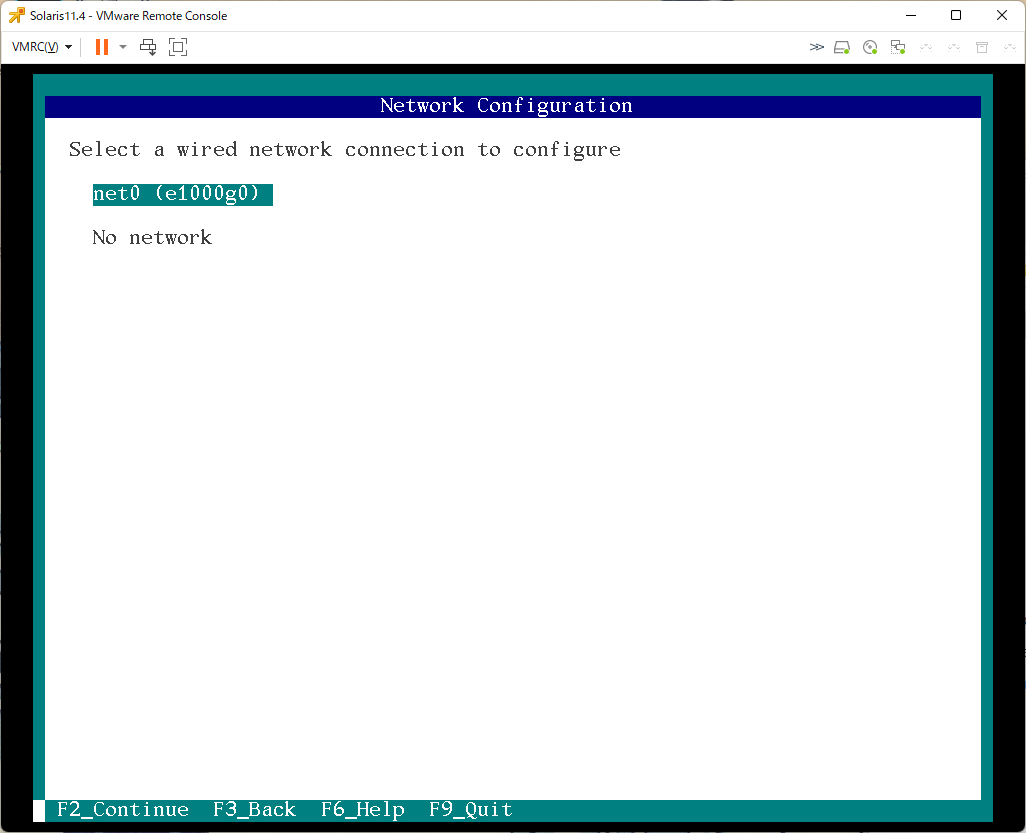
ネットワークの設定。「net0」を選択し「F2」
Network Configuration Method
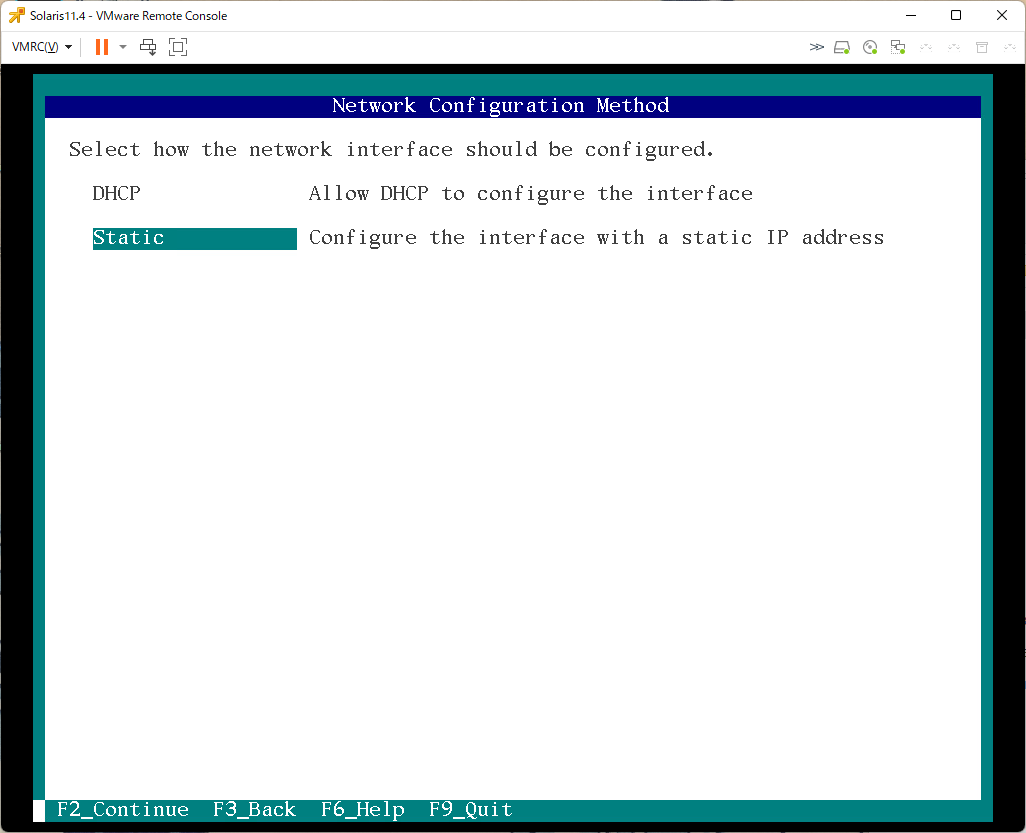
固定IPアドレスを使うの「Static」を選択し「F2」
Configure static IP address: net0/v4
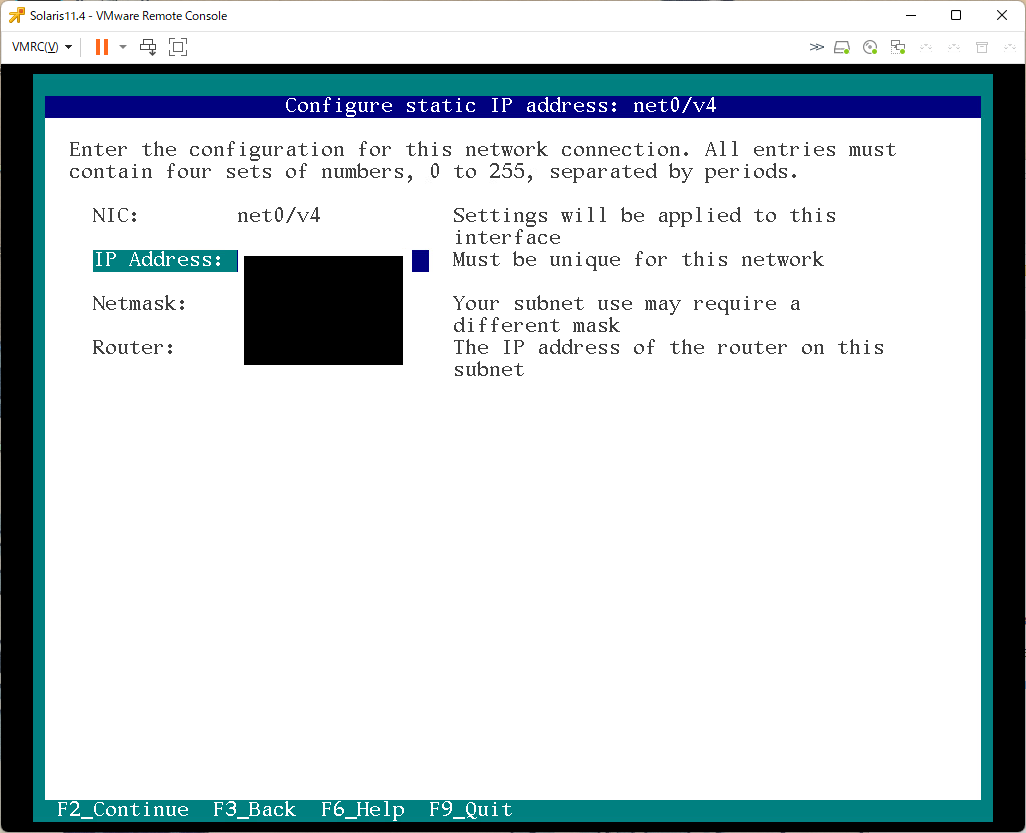
IPアドレス、ネットマスク、デフォルトゲートウェイを入れて「F2」
DNS Name Service
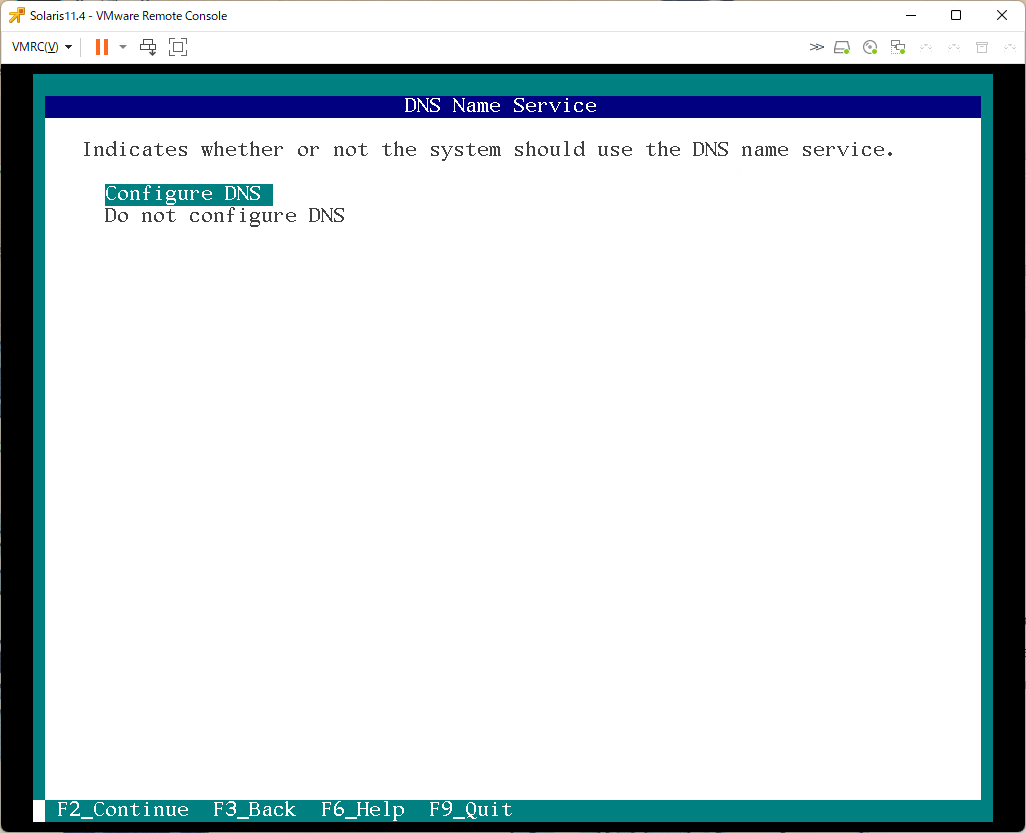
DNSの設定をするので「Configure DNS」を選択
DNS Server Addresses
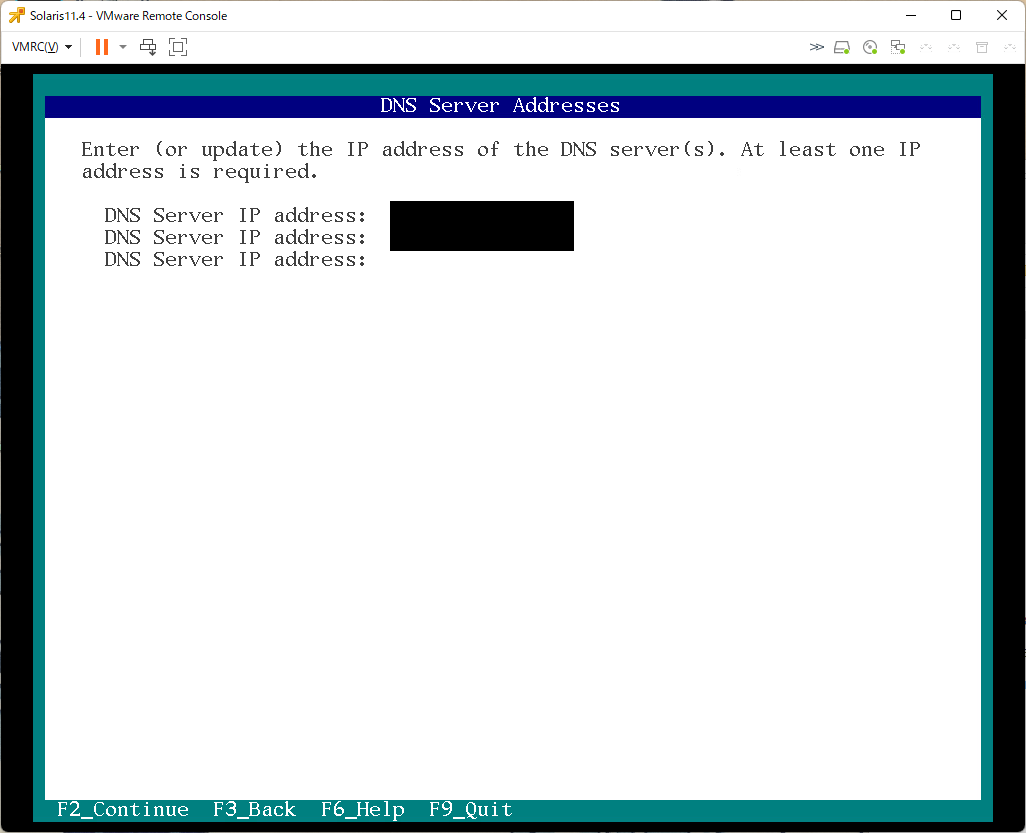
DNSサーバーのアドレスを入力し、「F2」
SND Search List
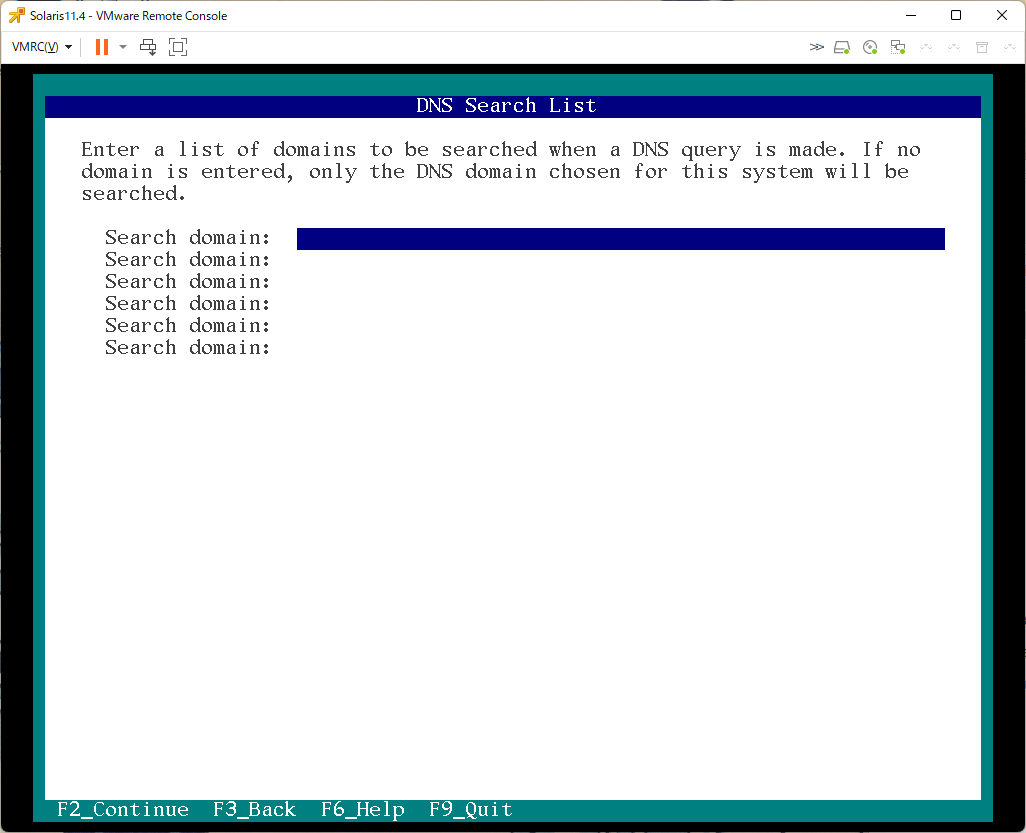
よくわからない項目。空白で問題なかった。なにも入れずに「F2」
Alternate Name Services
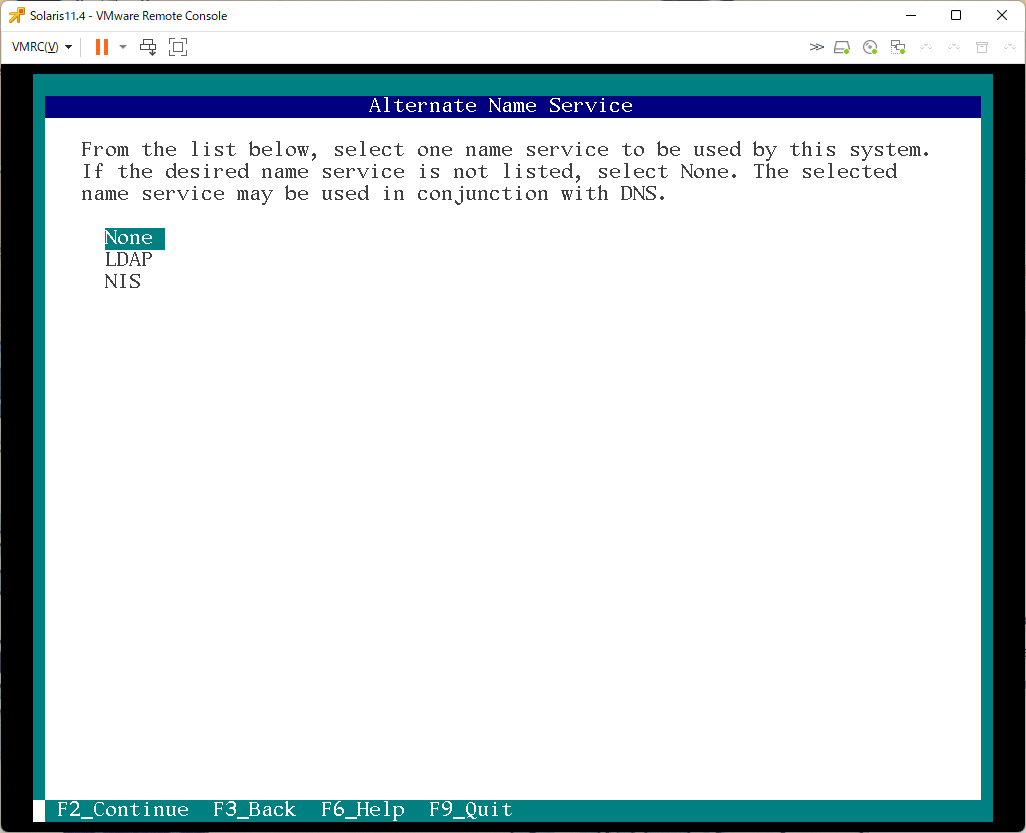
「None」を選択し「F2」
Time Zone: Regions

「Asia」を選択し「F2」
Time Zone: Locations
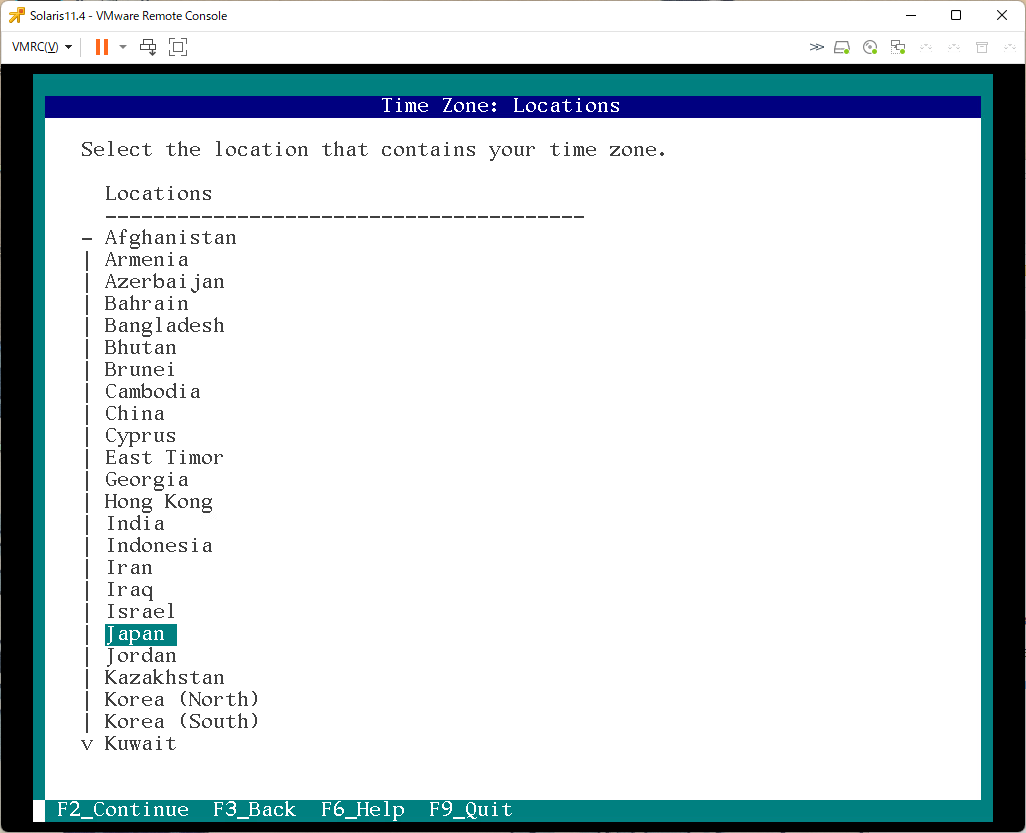
「Japan」を選択し、「F2」
Time Zone
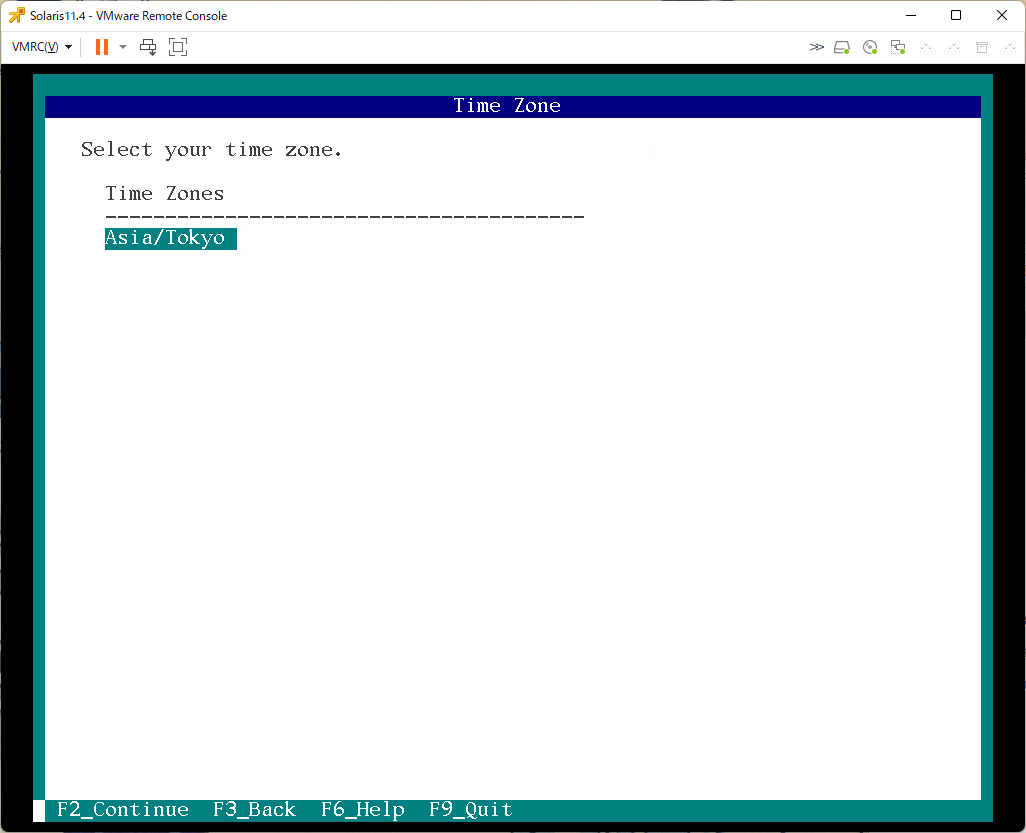
「Asia/Tokyo」を選択し「F2」
Locale: Language
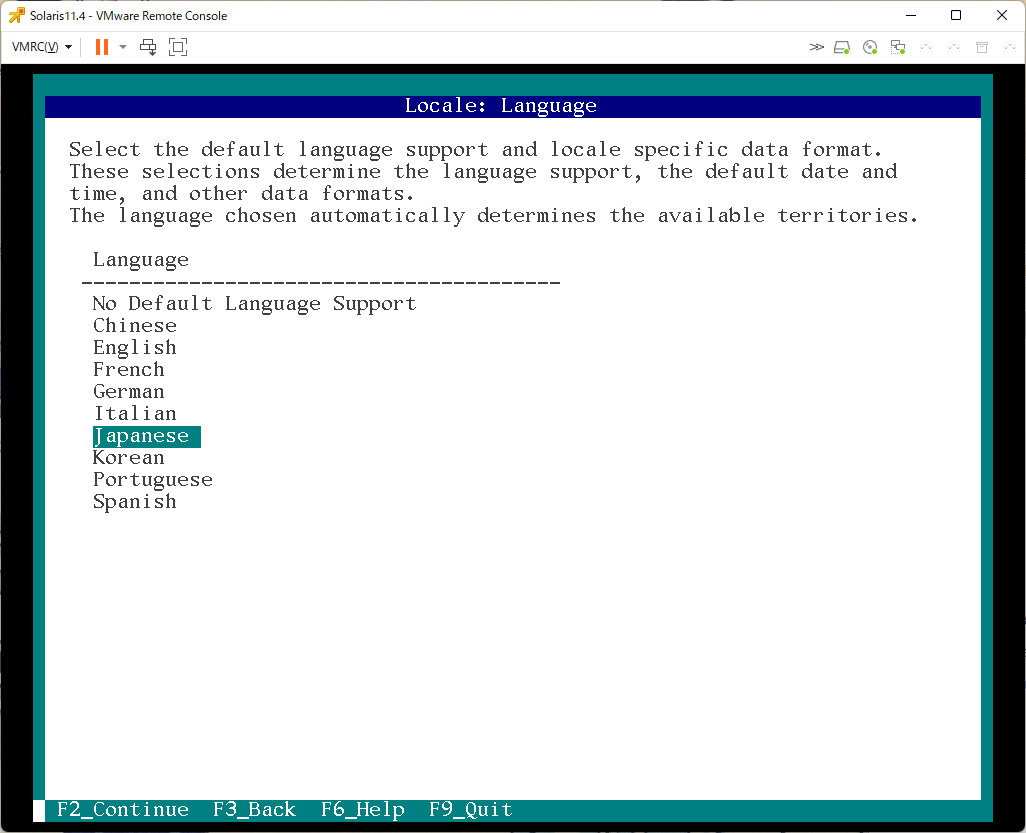
「Japanese」を選択し「F2」
Locale: Territory
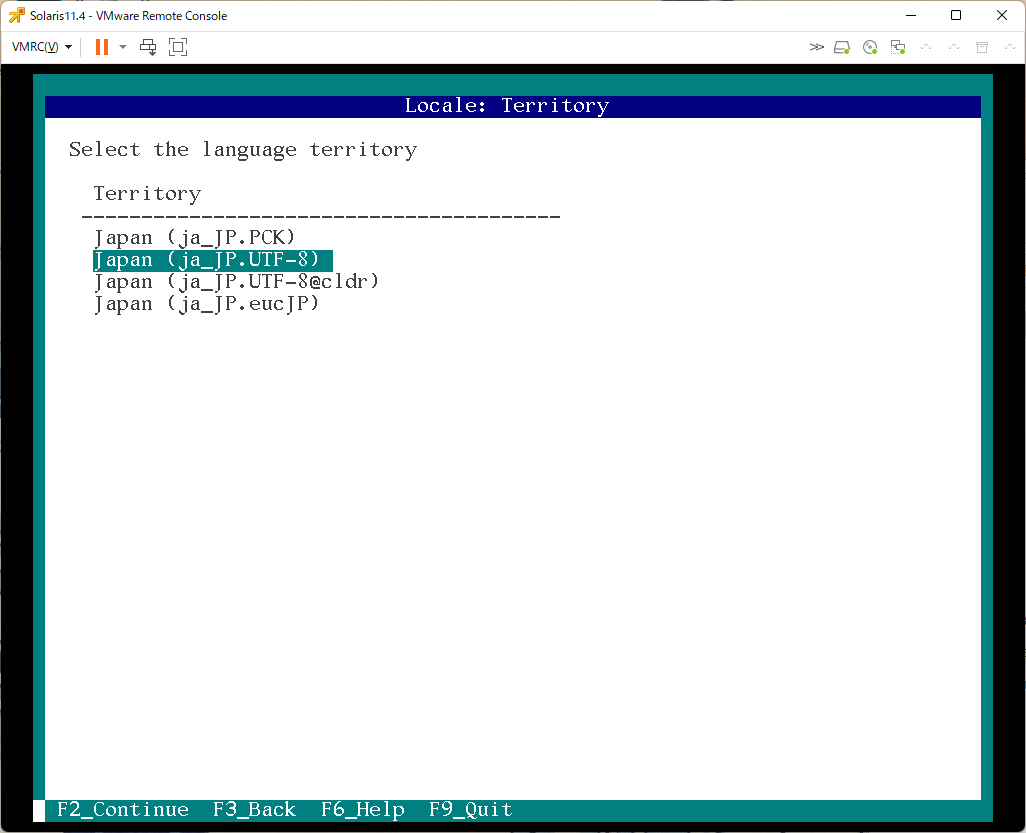
「ja_JP.UTF-8」でいいと思う。「F2」
Date and Time
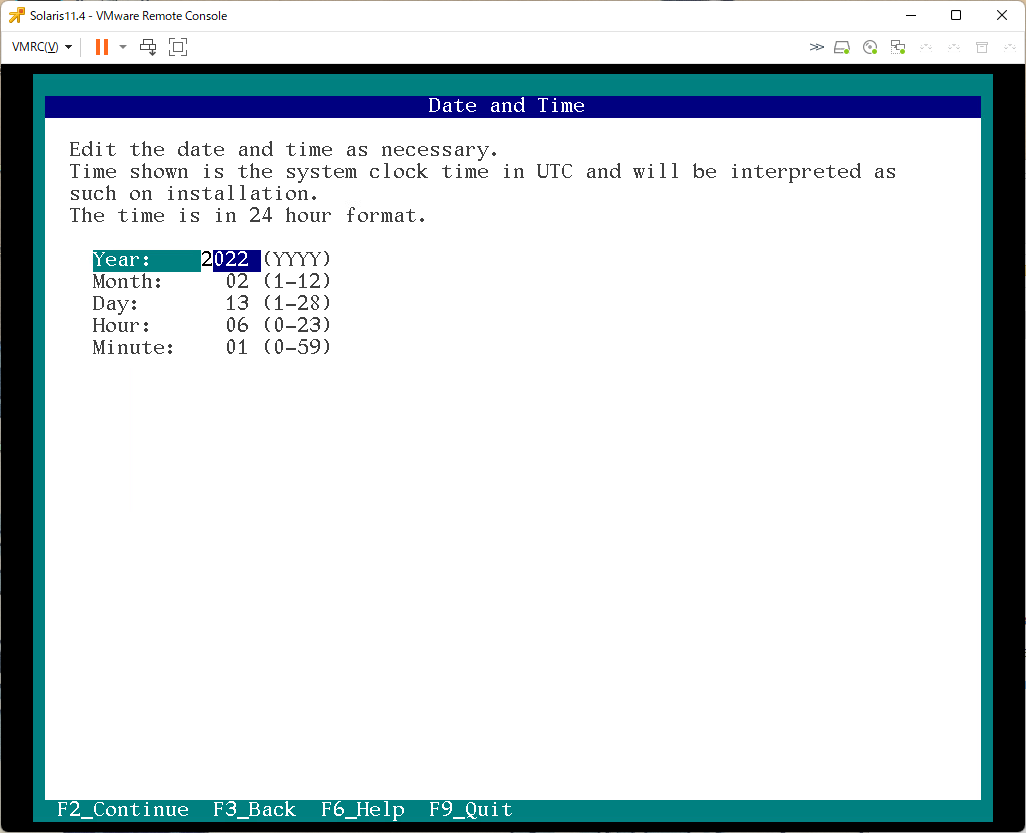
UTCの時刻を入れる。
日本時間を入れると時刻がずれるので注意。
Keyboard
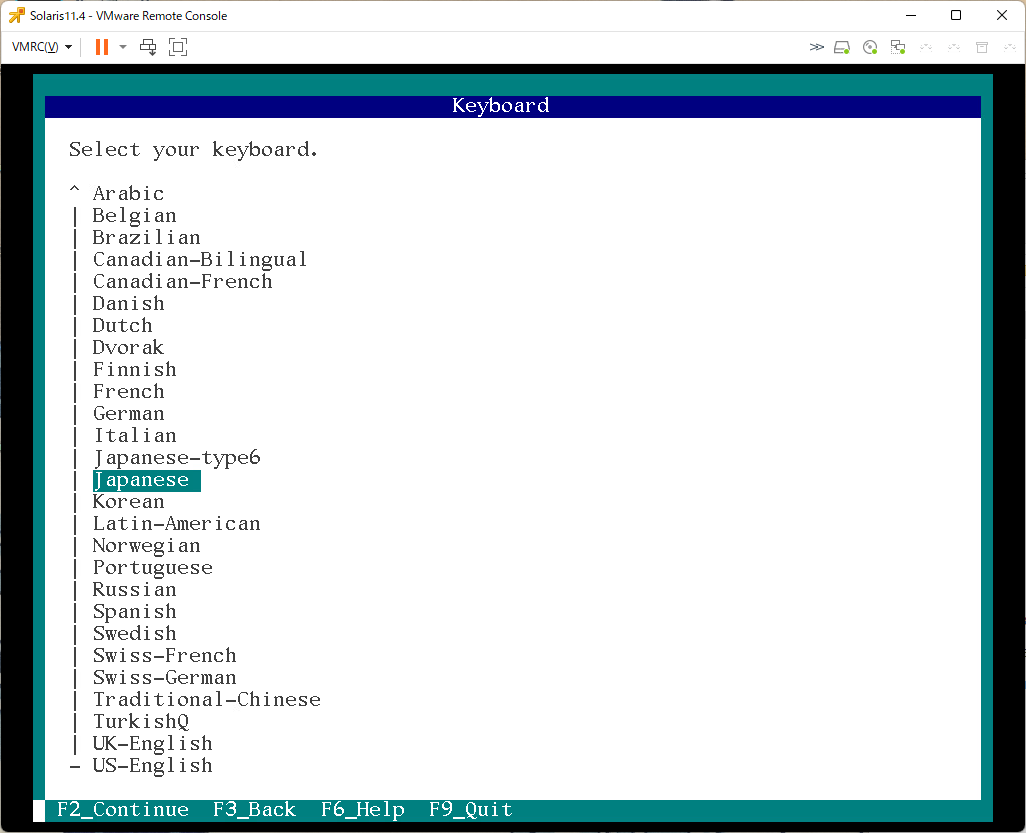
「Jpanses」を選択し「F2」
Users
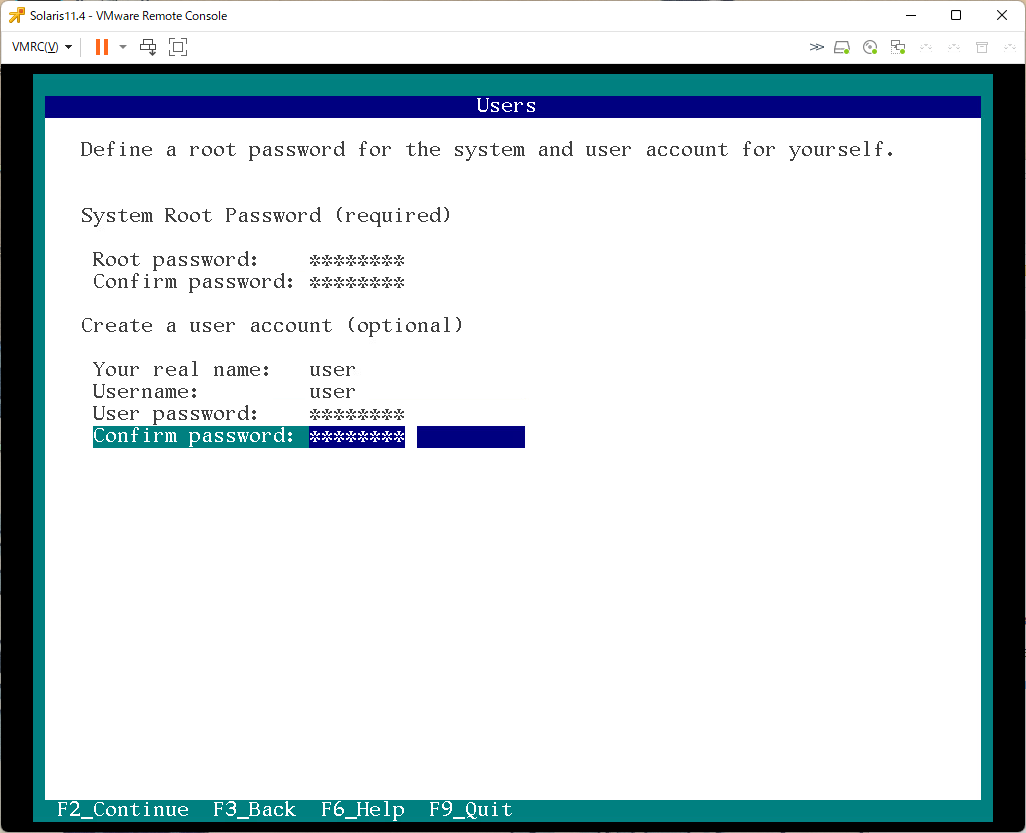
rootユーザーと一般ユーザーのパスワード設定
Support - Registration
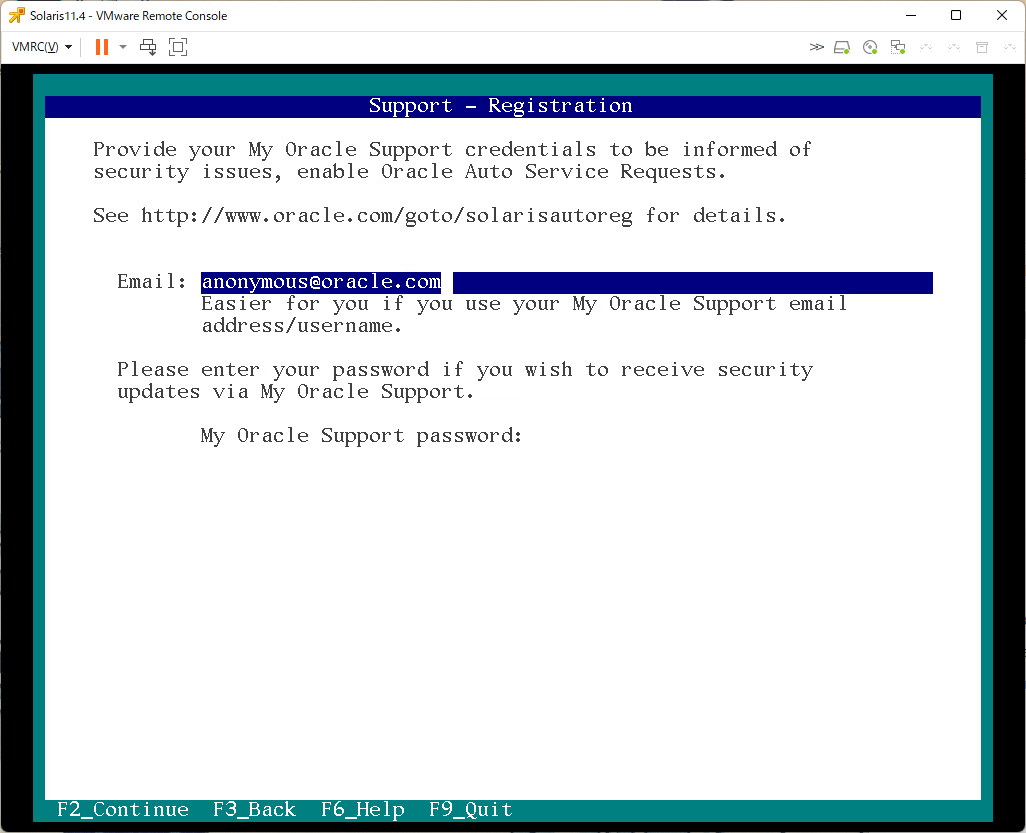
サポート契約が無いので、多分そのままでよい「F2」
Installation Summary
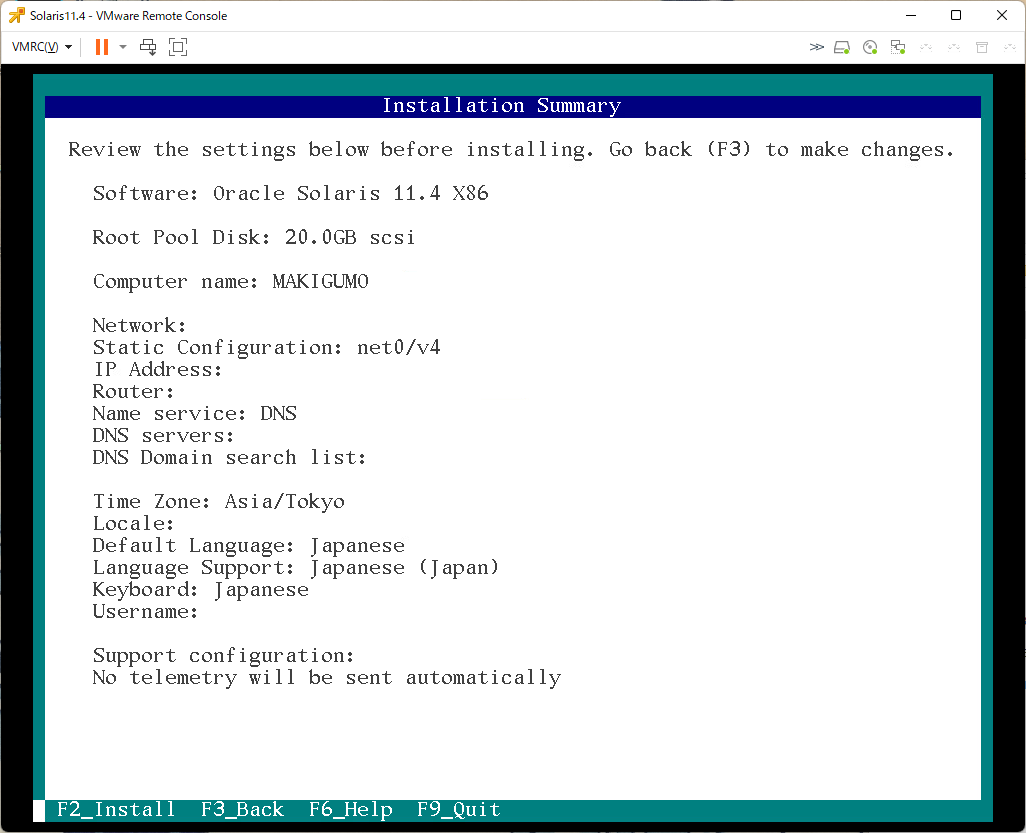
設定したIPアドレスなどの再確認画面。
問題ないなら「F2」
Installing Oracle Solaris
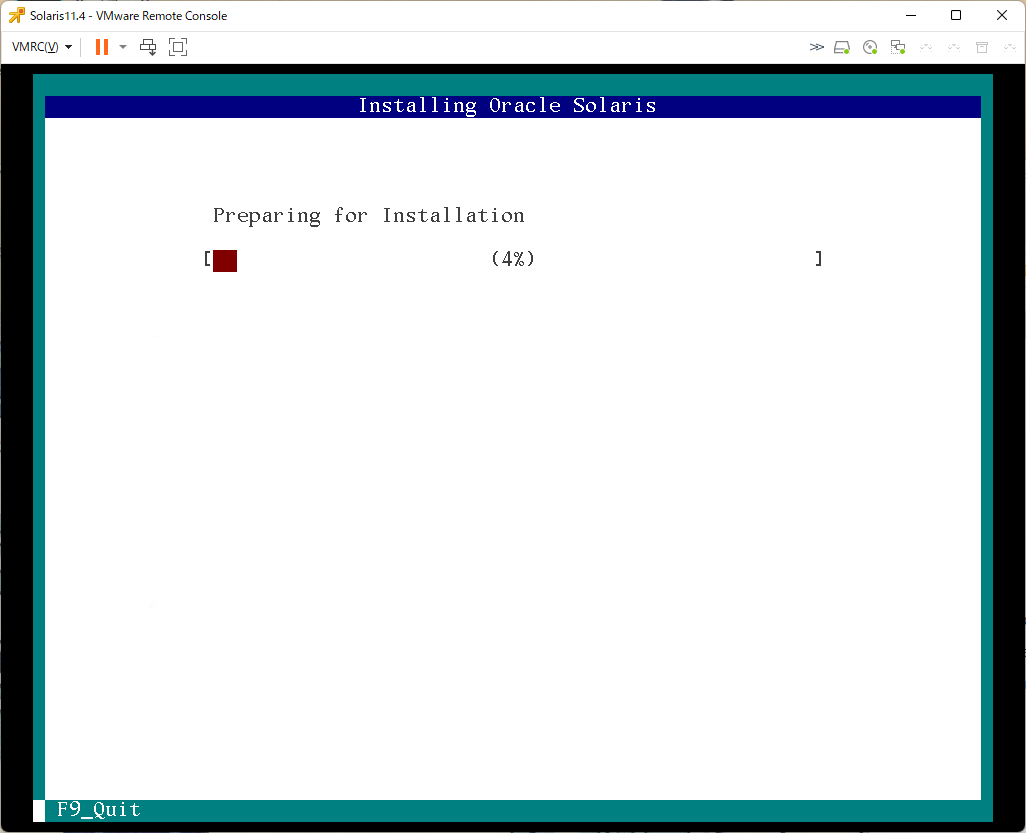
インストール開始
Installation complete
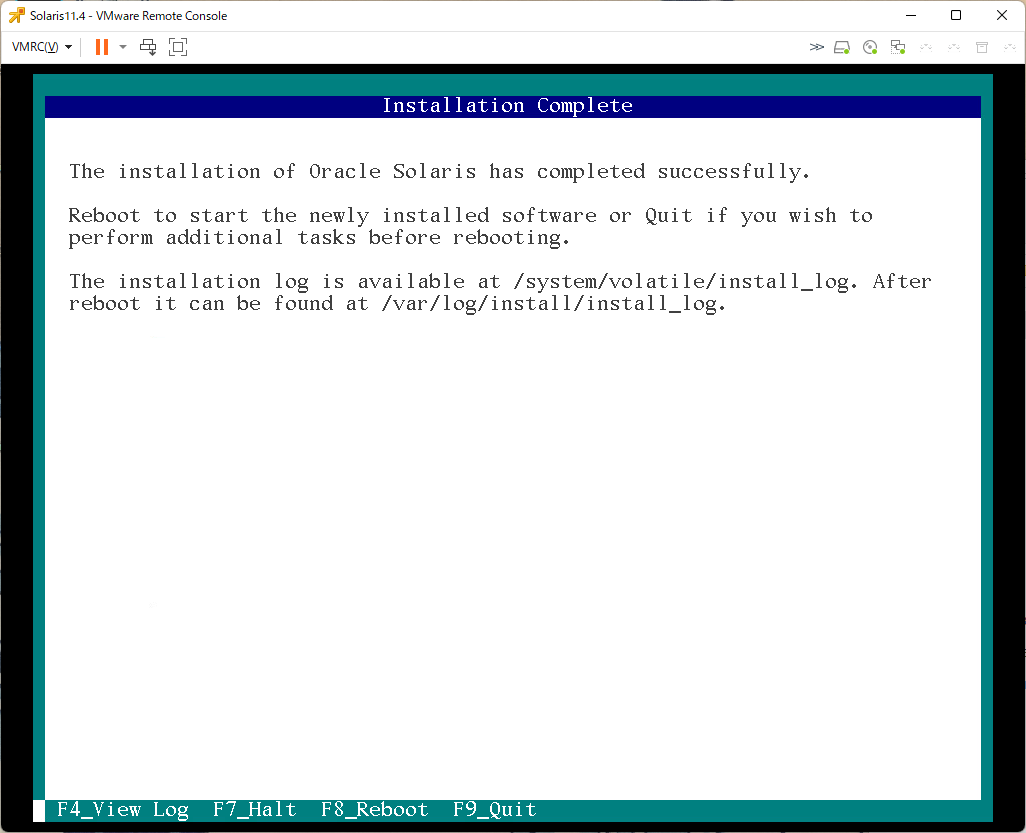
インストール終了。
「F8」でリブート
コンソール画面
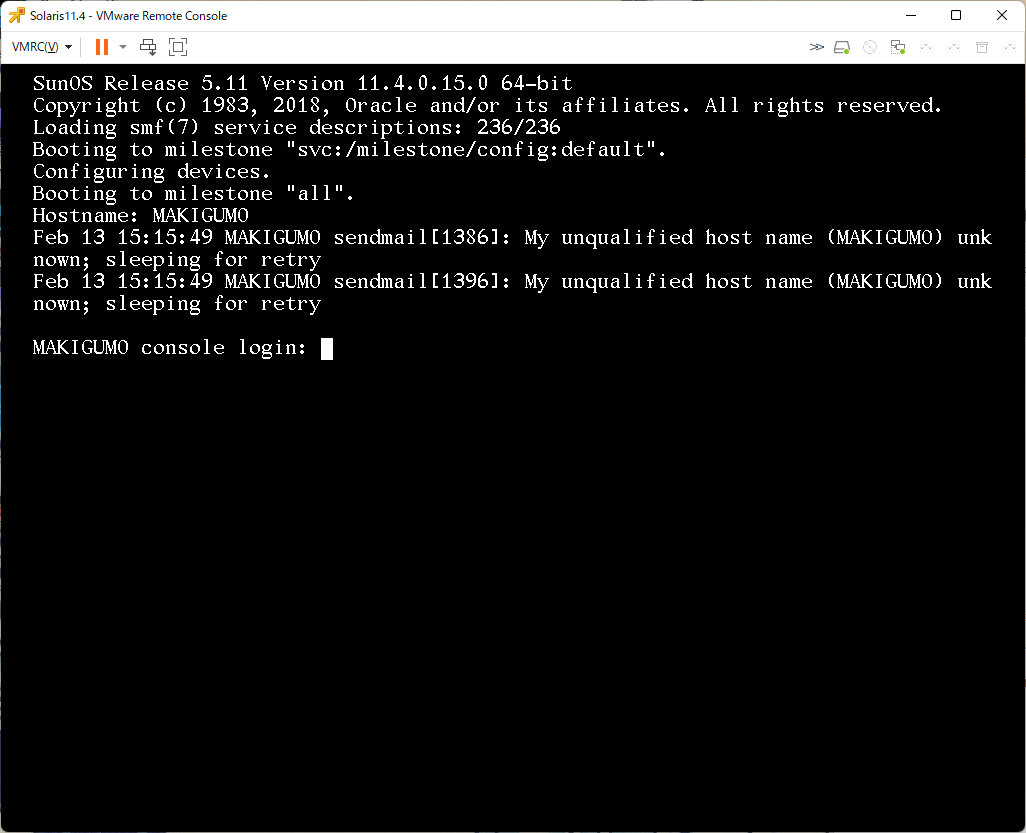
起動完了
sendmailの削除
コンソールにsendmailのメッセージがでて邪魔な場合は、以下コマンドで削除する
sudo pkg uninstall smtp-notify
sudo pkg uninstall sendmail
VMware Toolsをインストール
以下リンクを確認してVMware Toolsをインストールする。
正直なくても動きます。
pokug.net